For many people, Covid-19 highlighted the weakness inherent in their reliance on gyms for their training. Building your own home gym is a great way to future-proof your training.
Introduction
I built my first home gym in the garage of my house almost 20 years ago. It was in a time when the choice of commercial gyms was between big, flashy, expensive health clubs that charged an arm and a leg for membership and traditional bodybuilder gyms in someone’s basement.
I didn’t know any hardcore bodybuilders, so finding such a gym would have been difficult.
As for the large health clubs, there was one in town, but it was effectively a “cardio and classes” factory. For such a large facility, the free weights area was limited and there was no facility to do deadlifts (heaven forbid anyone should drop a heavy weight on the floor!) or heavy squats. In fact, I don’t believe they even had an Olympic barbell in the whole place.
What’s more, when you did the maths, you very quickly came to understand that they had no interest in having anyone use the facility at all. I got to see the membership figures; they had 5500 members, all on annual contracts of around £600, of whom 20% had NEVER swiped their entry card!
Armed with that knowledge, I decided that I’d be better off spending that £600 to set up my own gym in my garage at home.
Since then, I’ve done the same every time I’ve moved to a new house. In fact, when looking at properties, the existence of a suitable garage is a deal breaker.
Even in a time when gyms have become very cheap to join and offer a simpler, more result-orientated environment, I persist with having my gym at home.
- I never have to wait for equipment.
- If someone doesn’t put their weights away, I know who it was.
- I have no commuting time to consider when planning how to fit training into my day.
- When I’m busy, I can simply drop “workout snacks” into my day rather than having to find time to get to the gym.
In this article, I'm going to share what I’ve learned about building your own home gym.
I’ve titled this piece, “Building your own ‘imperfect’ home gym” because it’s important to understand and accept that you don’t need to have a perfect situation.
Building your own home gym will almost certainly involve a certain amount of compromise. I know that I have never been able to have all the equipment or training options in my home gym that I would have in a perfect world.
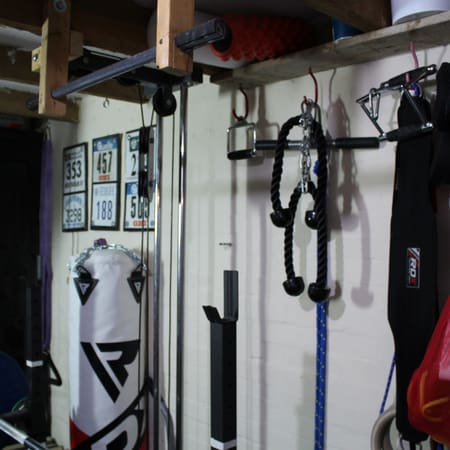
But the results I have achieved in my little 65 square foot space far outstrip what the vast majority of people achieve in a large commercial gym with all the latest equipment, constantly updated.
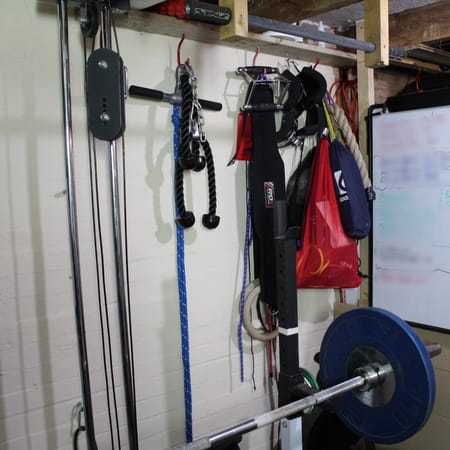
Some of my equipment is rusty, some of it is cobbled together to make it work in ways it was perhaps not designed to work and I’ve had to think a little outside the box in order to create solutions to some of the training and space problems I face.
Rather than a bug, I consider this need to compromise to be a feature.
Why?
Because the experience has taught me that it’s possible to train and achieve results anywhere, with a lot of equipment or even with virtually none. I believe building your own home gym can do the same for you.
First, a few initial considerations, things which people don’t consider, but which can make all the difference when it comes to whether you’ll use your home gym consistently or not.
Consistency is the only health and fitness hack that actually works.
This might be your main objection to building your own home gym, it certainly was mine and many other people have the same concern.
After all, when you look at even the smallest commercial gyms, they have quite a lot of floor space. It’s hard to imagine that you could do the same training in a small space.
Then, you watch YouTube and are faced with the room full of equipment, bigger than the average British house, that passes for a home gym in the house of a celebrity bodybuilder or trainer. I know there is no way I could get my wife to accept the loss of most of our living space to my gym equipment!
The good news is that you need next to no space at all. Deeper into this article, I describe options, from needing no space at all to what I use for my equivalent to a full-size free weights gym; a whole 65 square feet!
Most commercial gyms have rubber flooring of some description and there’s a reason for it.
Drop a heavy dumbbell, kettlebell, or barbell on a concrete floor more than a few times and your floor will start to disintegrate quite catastrophically. And that’s not to speak of the damage to your gym equipment.
With that in mind, I strongly recommend starting out with some good quality rubber flooring, be it one mat or the whole floor. Even if you’re training outside on a patio or deck, some level of protection should you drop your kettlebell is worth the small expense.
I’ve used rubber stall mats, of the kind that you’ll find here (UK link, but similar products are available worldwide). They’re made to be used in stables, so they’re tough, durable and look after your floor and equipment very effectively.
Calisthenics is the simplest option; it’s bodyweight training.
All you need is either a pull up bar, or a set of gymnastic rings (or a TRX-type suspension trainer) and a handy tree branch from which to suspend them. In fact, I’ve even used just an overhanging tree branch to do pull ups and inverted rows.
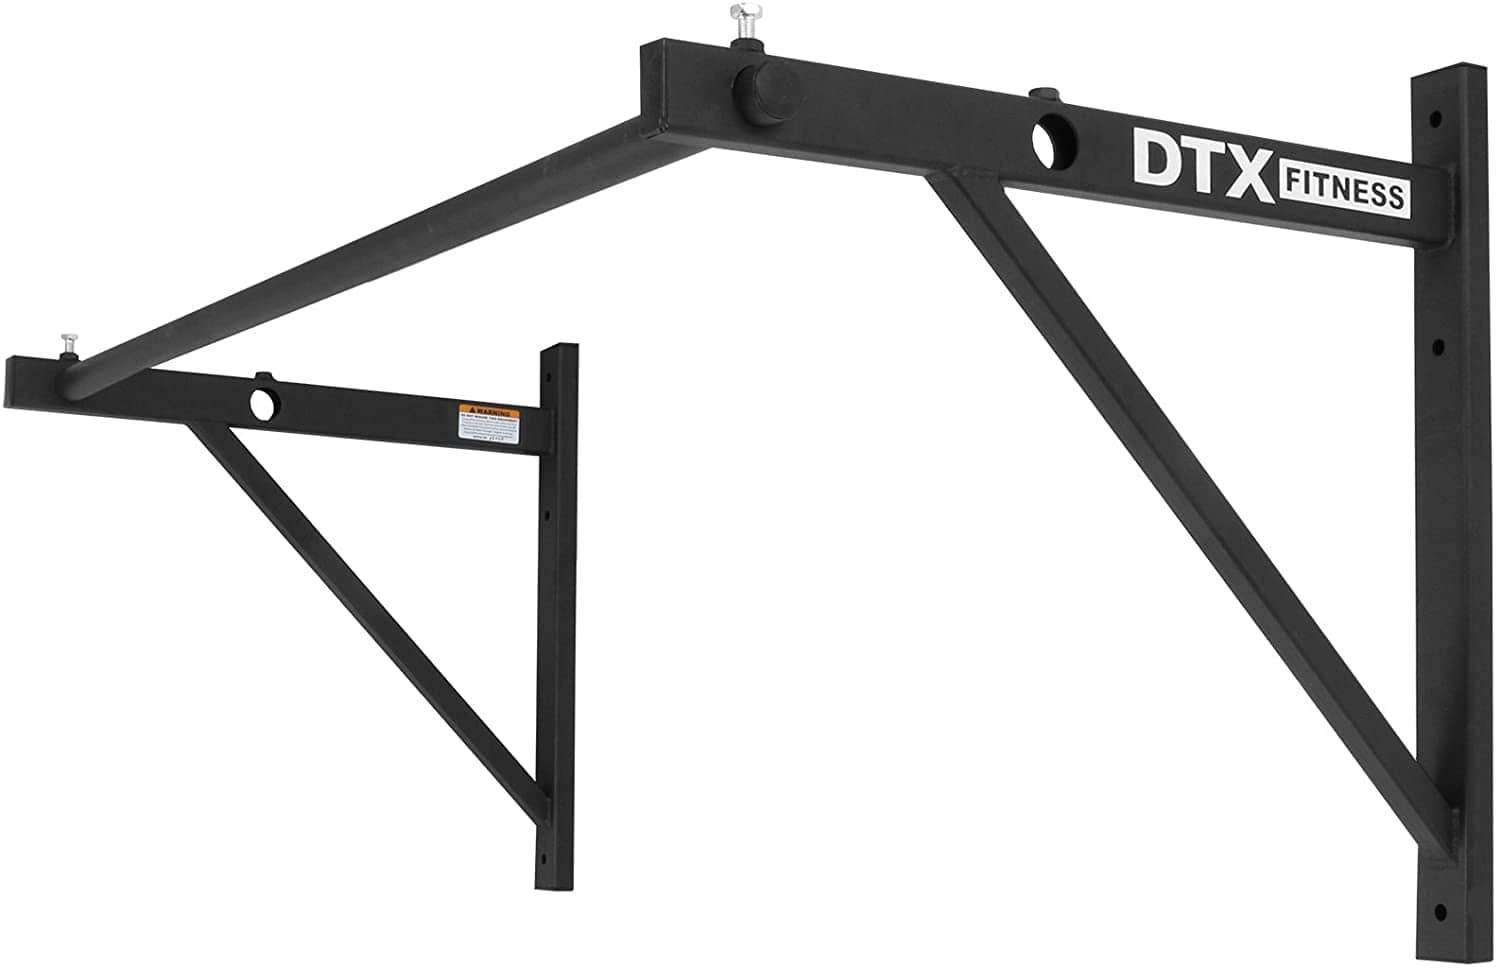
You could buy a pull up bar that hooks above a door frame, one which you bolt into an exterior wall or a freestanding pull up bar.
If you have the outdoor space and want to have something that is a little more versatile, you could build yourself an outdoor pull up and ring tower like this one that I built in my garden. What’s great with this is that I was able to include options for overhand and neutral pull ups, gymnastic rings, a rope for legless rope climbs, parallel bars for dips and even an oversize log for working on false-grip pull ups. Oh, and it also doubles as a swing for my children!
Outside of the pull up bar or somewhere to suspend a set of gymnastic rings, all that’s required for calisthenic training is a small amount of floor space.
In time, you might want to invest in a set of parallettes if you find the calisthenics bug has really bitten and you want to progress a bit more.
The humble kettlebell has been called the “gym in your hand” and with good reason; kettlebells are very space-efficient, but they allow you to train all the basic human movement patterns without a large investment of money or space.
- Hinge - Kettlebell Swing
- Squat - Goblet Squat
- Push - Kettlebell Military Press
- Pull - Renegade Row
- Rotate/Anti-Rotate - All the above using one hand
You can start with just one kettlebell of appropriate weight, but over time adding two more will give you plenty of scope. Ideally, you want one each of...
- 16kg, 20kg and 24kg for men
- 8kg, 12kg and 16kg for women
If you’re a stronger than average man, you should consider adding a 32kg kettlebell and if you’re a stronger than average woman, a 24kg kettlebell.
The great thing about kettlebells, once again, is that they take up very little storage space and don’t require much space in which to train either. Add a pull up bar and a few calisthenics exercises, and you have all you need to become impressively real-world strong.
This is what people commonly think about as “a gym”. It’s also the option that requires some dedicated space. After all, it’s a lot more difficult to carry a barbell, weights, bench, stands etc out into the garden for your workout, and even more difficult to carry them all back into wherever you store them when you’re tired after your workout.
Add to that the vagaries of weather in places like the UK, where outdoor training is simply impractical during most of the year and the need for a dedicated space becomes clear.
The good news is that as I wrote earlier that space doesn’t need to be all that big. In fact, as long as what you need to move to use it is not too heavy, it doesn’t even need to be a completely dedicated space. I used to store my bikes, hanging from the roof in mine and simply moved them whenever I wanted to train.
The equipment you need isn’t all that complicated...
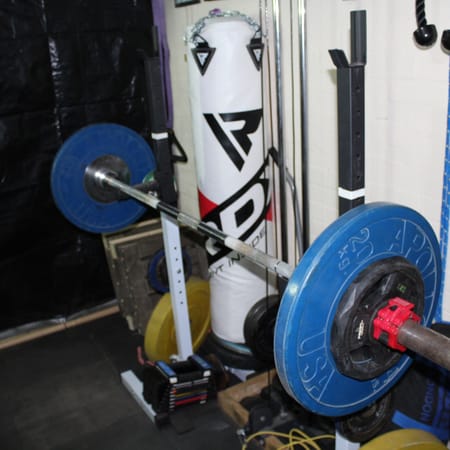
- Olympic Bar - the best quality you can afford, cheap chrome ones get harder to hold onto as the weight gets heavier.
- Weight Plates - rubber bumper plates if your budget will stretch that far because they’re easier on your floor.
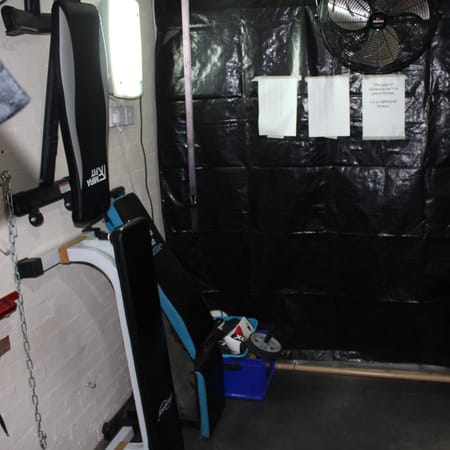
- Good Quality Adjustable Bench - don’t skimp on this, as you lift heavier, a flimsy bench will not inspire confidence.
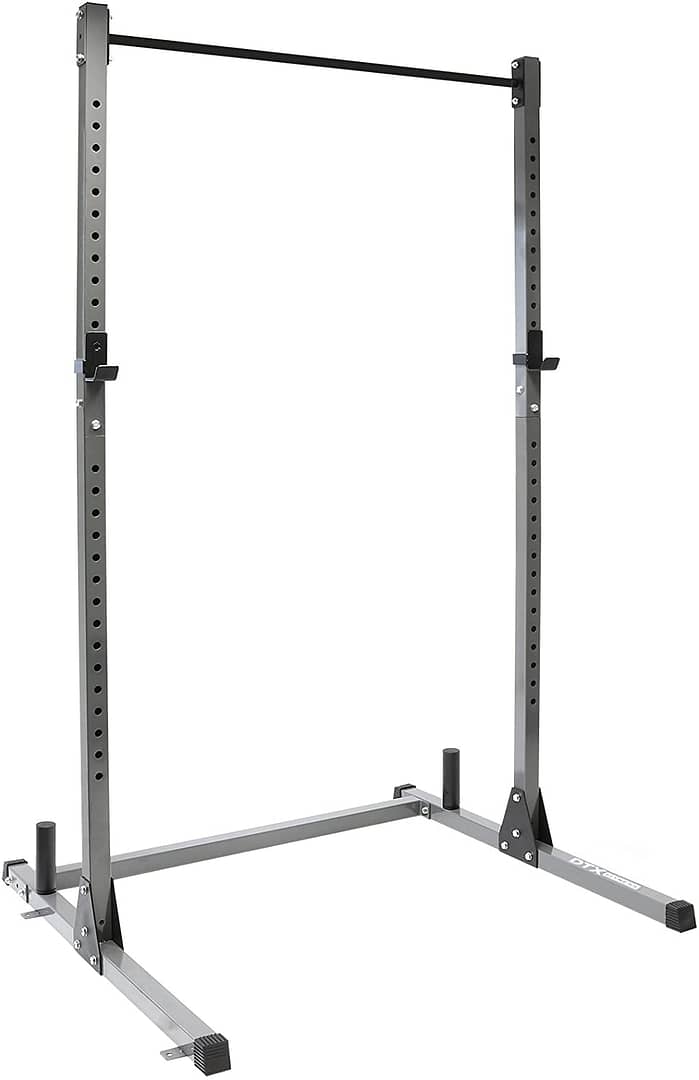
- Squat Rack - if you have space, a rack will provide you with a margin of safety on your heavier squat and bench press sets.
- Squat Stands - if you haven’t got space for a rack, you’ll still need some way to get the bar onto your shoulders for heavier squat sets; squat stands provide a nice compact, storable way to do this.
- Adjustable Dumbbells - when you haven’t got much space, a rack full of dumbbells is impractical; adjustable dumbbells (like those made by Powerblock) are just the ticket.
If you add a set of kettlebells and a pull up bar to these items, you’ll have a gym that’s almost as well equipped as any commercial gym.
Most of the other kit you find in a big box gym is just a selection of shiny objects, designed to get you to buy a membership. Did you ever wonder why most major health clubs have a big pool with lots of rules about what you can’t do in the pool? It’s a sales tool; you walk past it with the sales consultant and think, “Wow, a big empty pool I could train in!”
Just a quick note on cardio equipment.
Go to any health club and there are banks of cardio equipment, facing televisions on which they’re playing the latest soap opera (or the news, or whatever). These are always full of people getting their cardio in.
It’s been known for people to complain that they had to walk from the far side of the car park to spend their 20 minutes walking on the treadmill!
YOU DON’T NEED CARDIO EQUIPMENT in your home gym. Unless you have a lot of space, it’s a waste of space.
If you want to run ---> pavement/sidewalk
If you want to cycle ---> roads or trails
If you want to climb stairs ---> find some stairs
Rowing and XC skiing are a bit harder, but the equipment takes more space than the return in terms of fitness for most people. If you really had to buy some CV equipment, these two would be my recommendation.
As long as you have the basics mentioned above, you’ve got plenty of equipment to get awesome results. Having said that, there are a few items that will make your home gym even better. They’ll provide options for even more effective exercises, and options can be a good thing, especially as you progress in your training.
Bands (or stretch cords) are great for mobility work, as outlined in some of my other writings, but they also provide opportunities to perform exercises for which you’d need cables in the gym or to make some lifts harder.
I like these bands (or similar) because they come with handles and an anchor as part of the set.
Two of each colour will allow you to perform the types of exercises that you would perform using a cable crossover machine in the gym. A little ingenuity is all you need to make great use of bands. In fact, they could be considered an option in themselves for building your own home gym.
One item that many people might miss when you make the step from a commercial gym to building your own home gym is an adjustable pulley machine. Because these tend to be quite large, their footprint makes them impractical for a small home gym.
If you have space for a squat rack, there are attachments that will attach to this, but again, the footprint is quite large for most. However, I managed to find one of these and worked out a way to rig it up in my garage in a way that uses far less space than it was designed to do.
While you can most of what a pulley machine does using bands instead, sometimes it’s useful to have the pulley and I’m pleased to have one in my home gym.
My experience has taught me that there are a few small things that are worth having because, once again, they provide options.
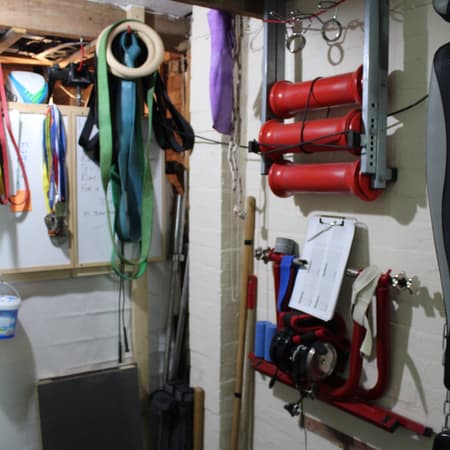
While it’s possible to anchor elastic bands/stretch cords/TRX using a door anchor, heavy duty screw eyes in the wall or in beams provide significantly more options in terms of the angles you can address in your training.
To avoid having to drill too many holes, having one screw eye high up in the wall, another low down, and joining the two using a chain adds even more options for exercise angles.
As you use thicker elastic bands, they become harder to thread through the screw eye fixings in the wall. A better (and quicker) way to attach your bands is to use carabiners.
You don’t need heavy duty climbers’ carabiners with screw gates, these simply slow down the process of moving stuff around. I simply bought a bag of ten at my local hardware store. They did have screw gates, but I removed them as unnecessary.
Sometimes, you need a way to lengthen your bands or move them a little closer to you from the attachment point. Simple webbing loops, like what climbers use, are a good option.
Again, you don’t need them to be the standard used by climbers. I simply stitched my own together, but nothing would stop you getting hold of some webbingI used to laugh at the idea of ab rollouts. How good effective could that ab wheel be after all?
It turns out that using the ab wheel for rollouts most days develops superb abdominal activation to assist stability in your big lifts.
Simple, cheap, effective, and it takes up very little space.
If you’re going to do heavy deadlifts, even with rubber bumper plates, it makes sense to have some way of absorbing the shock of putting the bar down heavily (nobody should drop a bar in the way you see in CrossFit but putting a heavy deadlift down as if it’s your grandmother’s best china teapot is difficult, and the occasional drop is inevitable).
In a good gym, this is achieved by using lifting platforms that are made specifically to help spread the shock across a larger area. When building your own home gym, it’s unlikely you’ll have space for a full-size lifting platform, especially if you want a flexible space.
I never realised just how much noise my bar made when I put it down, until my neighbour knocked on my door to ask that I find a way to make it quieter. It turns out my garage and her living room are built on the same concrete slab and my heavy deadlifts were causing her pictures to be crooked on her wall due to the vibration when I put them down!
I use these rubber garden tiles. They’re quite pricey to buy new, but I picked mine up second-hand from someone who was remodelling their garden. I stack two on top of each other and stand on a stack of two. That way, I’m still doing a deadlift as if from the floor, but I mute the shock (and noise) when putting down the bar.
These deadlift deadeners are a more expensive option, which have the added advantage that their shape teaches you to groove an accurate lifting path by giving you feedback on putting the bar down exactly where it started.
A cheaper option is to get some old carpet, folded into multiple layers to achieve something similar.
Some kind of blocks to stand on for doing exercises like deficit deadlifts add options for progressing your big lifts. They’re also a good option for raising the bar off the ground for exercises like rack deadlifts if you don’t have a rack or don’t want to risk bending your bar using a rack.
I made two versions of these:
- A 1-inch and 2-inch block which I covered with some old pieces of yoga mat.
- A stack of 3-inch blocks, made out of old fence posts, to use for rack deadlifts, and which I then modified to use as an improvised safety rack for bench press (see below).
The great thing about building your own home gym is that you don’t have to impress anyone else. It’s all about how well things work for your needs as opposed to how they look.
Especially when lifting heavy stuff without a spotter (which is likely to be the case when you train in a home gym), having safety measures in place is absolutely vital. One thing you DO NOT want to do is get stuck on a bench, pinned down by a heavy bar.
These are the three options I’ve used.
If you have the space, a power rack is the best option. However, if you use all your space to house a power rack, you limit your other options in your home gym.
It’s a versatile option that provides both safety and other exercise options. Many come with pull up bars and numerous attachment points for other accessories.
I originally made myself a pile of 3-inch blocks for rack pulls, but as often happens, it dawned on me that I could bolt two of them together to use as a makeshift safety rack for bench pressing.
For a long time, I did only front squats because I could jettison the bar out front if need be and I’d know where the bar was going. It’s perfectly possible to drop a bar behind you, but this is not a good idea in a small space because it could bounce off something and hit you on the back of the legs.
However, I decided I needed to have an option for low bar back squats. These allow more you to lift more weight and are likely more effective for building muscle mass. But they absolutely require safety measures.
My solution was to use heavy duty cargo straps suspended from the rafters. I’m never going to lift enormous loads but having an option to fail in the bottom position is important. I thought about using just one screw eye each but decided that two attachment points and long coach screws were a slightly more secure idea.
I must stress that if I was going to lift heavy and fail often, a power rack would be essential.
I’ve only included this section because, as tempting as it may be to trawl online fitness sites to buy brand new equipment, there is a lot of second-hand stuff available on Facebook Marketplace, eBay etc.
I strongly advise looking on these sites, especially if you live in a heavily populated area. The vast majority of people buy gym equipment for a home gym, use it twice and then it sits unused in storage.
This means there is a lot of almost new equipment that can be had for a song. Also, the Covid-19 situation has seen a lot of people buy gym equipment, who would far prefer to work out in the gym. Once they’re happy that gyms are definitely open and not at risk of further closures, that equipment will hit the second-hand market.
Much of the equipment in my home gym is very much second-hand and well-used.
Building your own home gym confers a lot of benefits, not least the opportunity to train when it suits you. Of course, it can also deprive you of the social environment that gyms provide. Therefore, it’s a calculation that you must make for yourself.
Probably, the biggest advantage in my view is that your training need never be compromised by events out of your control, events that cause your gym to have to close, as gyms all over the world have had to do over the past year.
At a minimum, having some level of home gym gives you options for training when the events of life are less than ideal.
Hopefully, you see that you need not be limited by space, lack of equipment or not having a perfect environment in which to train.
Understanding that an “imperfect” home gym is more than enough for awesome results is over half the battle.
